I love magazines. I love looking at gorgeous fashion shoots, reading witty
columns and finding out about Taylor Swift’s
latest fling (guilty pleasure!). Unfortunately, this love has led to the
creation of a massive pile in my already small room of Cosmos and ELLEs, some of which date over
two years back. Since I couldn’t get myself to throw them all out, I decided to
come up with a ‘creative’ solution; DIY’ing that pile away! I realized that my
magazines could be used to make a really simple, but cute wall decoration. And
it doesn’t end there. This really easy technique can be used to decorate cards,
notebooks and even picture frames – so I can put that whole pile to good use!

What do you
need?
- Magazines
- A large piece of thick/construction paper (or anything else you want to decorate)
- Glue
- A pencil
- Scissors (optional)
- A large piece of thick/construction paper (or anything else you want to decorate)
- Glue
- A pencil
- Scissors (optional)

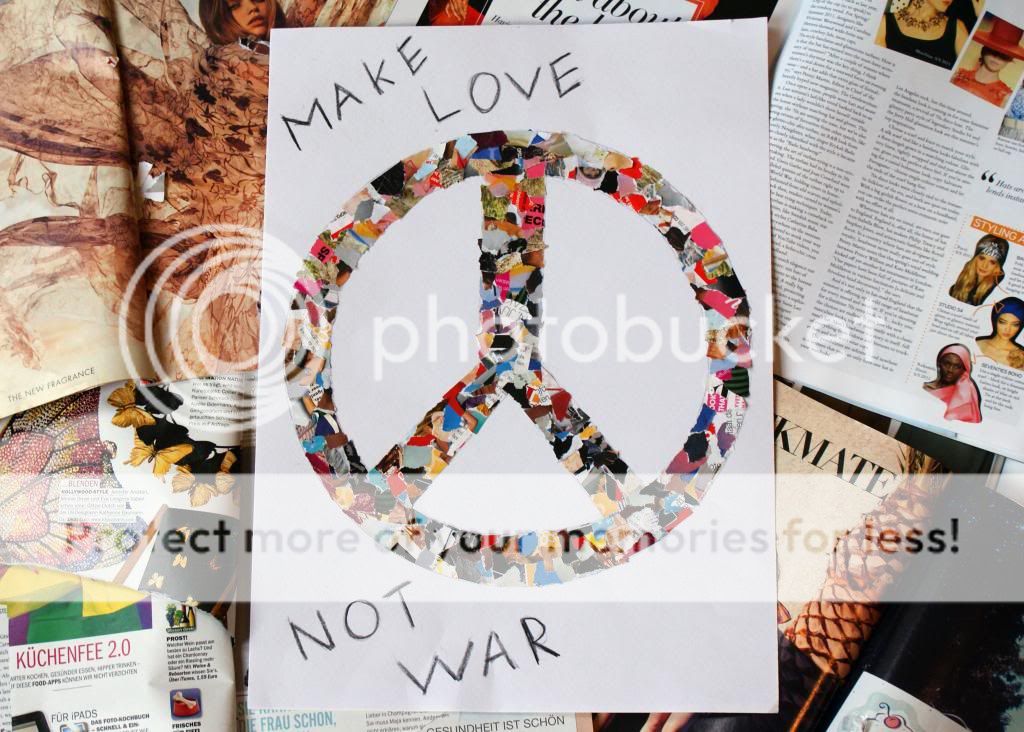
Step 1: On
your paper, draw any shape you like. I decided to go with a simple peace sign.
Make sure that whatever you’re drawing has some space that can be filled in.
That’s what you’re going to use your magazines for later on. So don’t draw any very thin lines!

Step 2: Now
grab your magazine, rip or cur out a page and start tearing it into little
pieces. Don’t be neat of careful, this is your time to go crazy. Just rip the
entire thing apart and have fun with it. (Maybe put on some rock ‘n roll
music.) I prefer to tear up a lot of
different pages, so my magazine-confetti will have lots of different colors in
it.


Step 3:
When you have a nice amount of tiny magazine pieces (don’t worry you can always
tear up more as you go along), start gluing them into the shape you’ve drawn.
Again, don’t by to precise with this. Just paste them on top of each other and
wherever you like, as long as you stay inside your drawn shape.
Step 4:
Keep on filling up your drawing with your magazine-confetti, until the paper
inside the shape isn’t visible anymore. You shouldn’t be able to see any
white (or whatever color your paper is) bits peeking through.
Step 5: And
you’re finished! You made yourself a pretty cool decoration piece and hopefully
had fun doing it. (If not: Try again with the rock ‘n roll music). If you like
you can add other drawings, paint or writing to your creation, to make it look
even more awesome.
I hope you
liked this DIY! Let me know if you tried it out!
Wat een leuk idee, het effect is echt heel erg mooi!
ReplyDeleteDankje! Ik moet zeggen dat het beter uitpakte dan verwacht.
Delete